Integrating Kajabi and bucket.io using Zapier
Before you begin:
- In bucket.io add Zapier Tags to Questions, this will allow Zapier to pull info from bucket.io
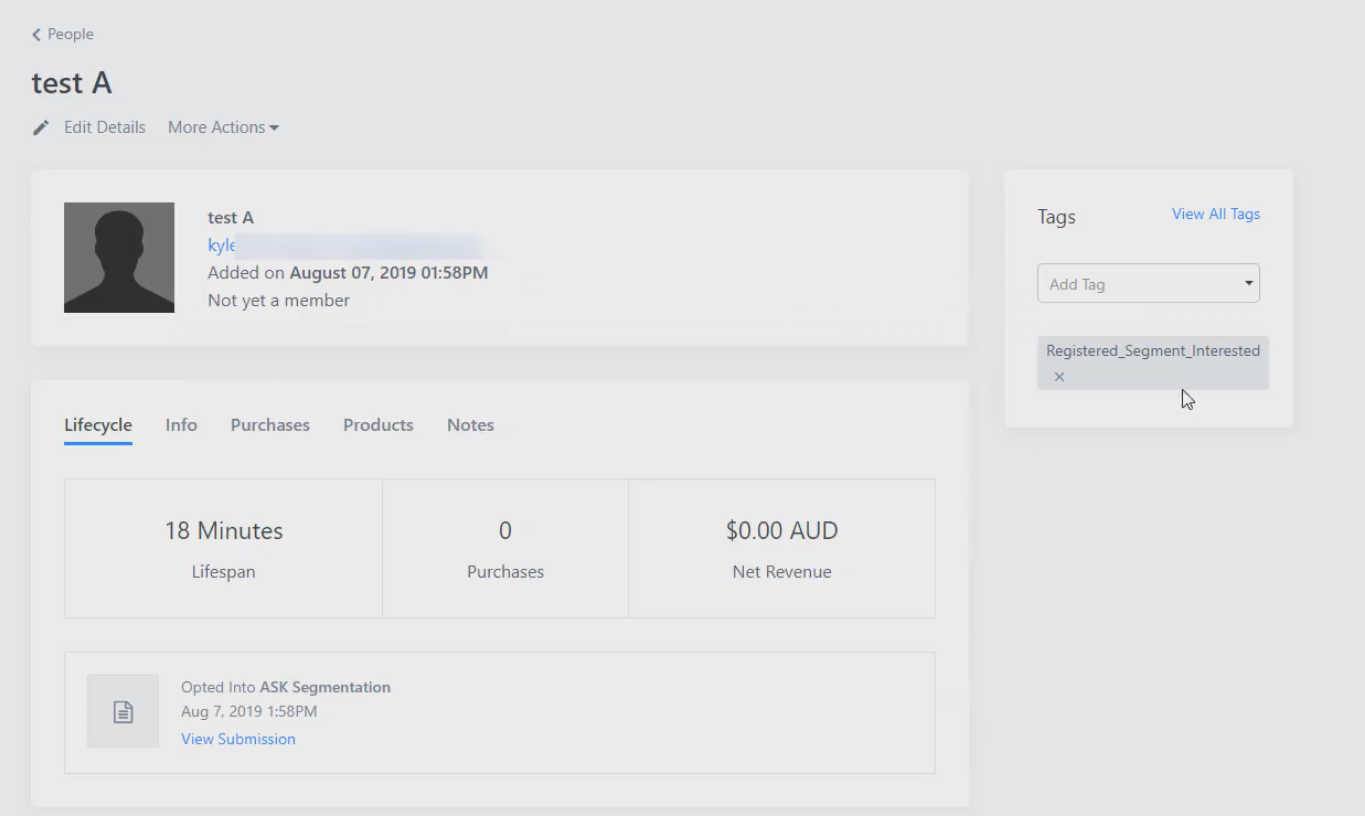
- In Kajabi create one form and a number of automations equal to the number of buckets. The purpose of these automations are to add a tag conditional on the information field matching the name of the respective bucket (this is illustrated briefly at the end of the article).
- In the Lead Capture Page, has as the Required checkbox in all pertinent lead information considered important.
Step 1: Make a Zap!
To start creating a Zap, click on Make a Zap!
Step 2: Name your Zap
It is always a good practice to provide a name to the Zap, which will help to differentiate from other Zaps.
Step 3: Select Bucket.io
Once you have entered in the Zap configuration, look for Bucket.io in the search bar, and select the bucket.io logo.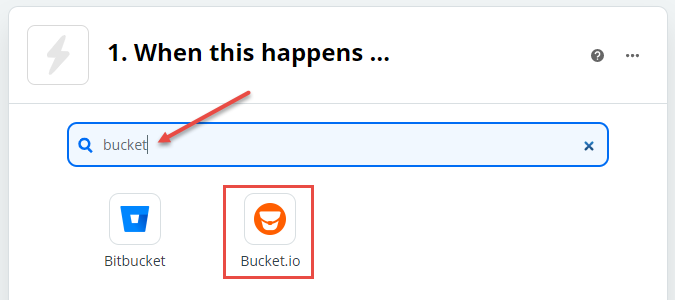
Step 4: Select a Trigger Event
After selecting bucket.io as the app for this Zap, a Choose Trigger Event option will be displayed. In the drop-down select a New Segmentation or New Discover depending on the type of quiz created.
Click on Continue
Note: If this is not the first integration, the app will jump immediately to step # 6 in this article.
Step 5: Choose a Bucket.io Account
Click on Sign in to Bucket.io button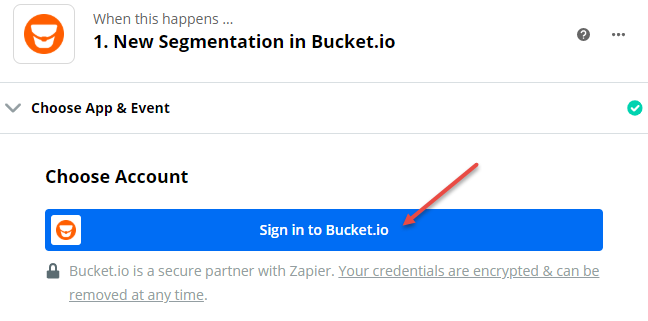
A new window will be displayed requesting the User API Key - this information can be found in the Account Settings in bucket.io

Go to the bucket.io account, click Settings, then My Account, and scroll down and copy your API Key as shown in the image below.
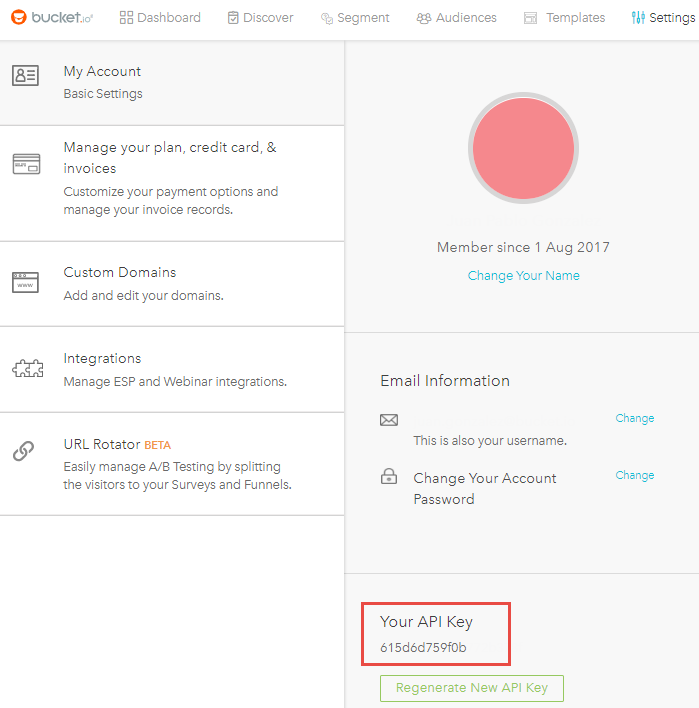
Next go back to the screen where it was requesting the API key and paste it into the field "Enter Your API Key..." then click on the orange button "Yes, Continue".
Step 6: Select the quiz
From the drop-down, select the name of the quiz for this Zap.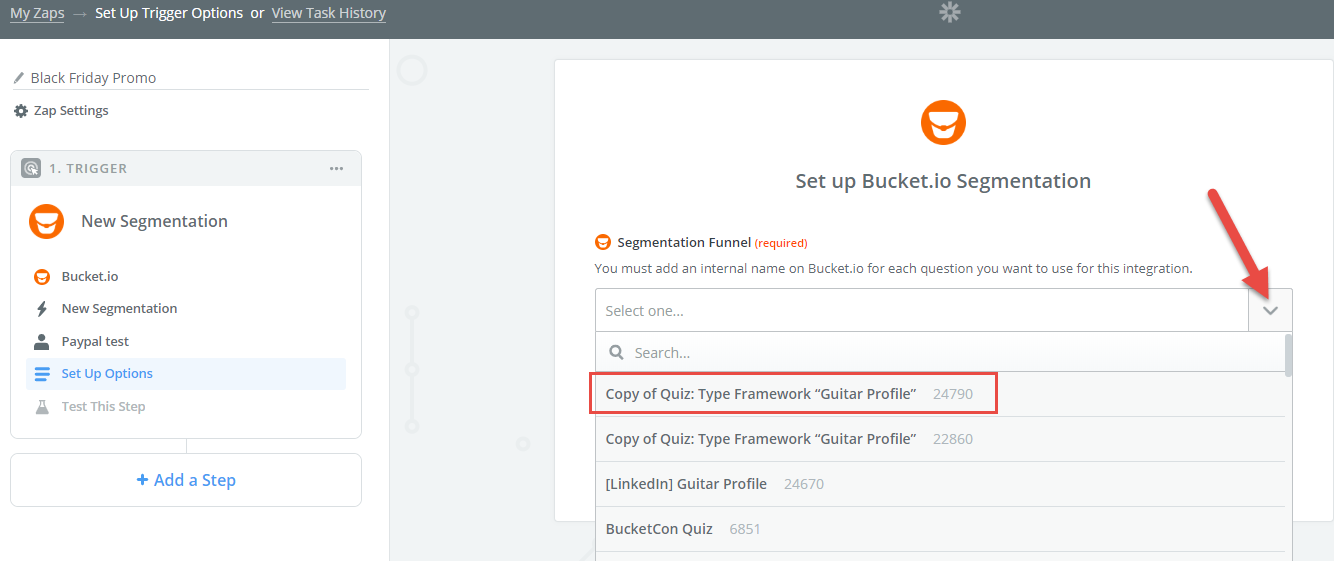
Click on Continue. Then Click on Test & Continue to test the connection with the quiz selected (optional).
Step 7: Select Second app (ESP)
Search/Select the ESP or Second app where bucket.io will send the data collected in the bucket.io.
Step 8: Select an Action Event
Click on the Drop-Down and Select the Action Event for the Zap
Step 9: Configure the Zap
Click on the drop-down for each field and choose the fields from bucket.io that will be fed through Kajabi.
Kajabi form and automation
Create one form with the necessary text fields such as name, email, and the segment.
Automations: they add a tag depending on the segments.

In the set up simply assign conditions When > Then > If

Which in real cases will look something similar to this