Connect an ActiveCampaign Account Using Zapier
Before you begin:
Add Zapier Tags to Questions- After you open up the relevant funnel, navigate to your questions and add Zapier tags as needed.
- Double-check your lead capture page to ensure all pertinent lead information is requested.
Step 1: Setup a Zapier Trigger
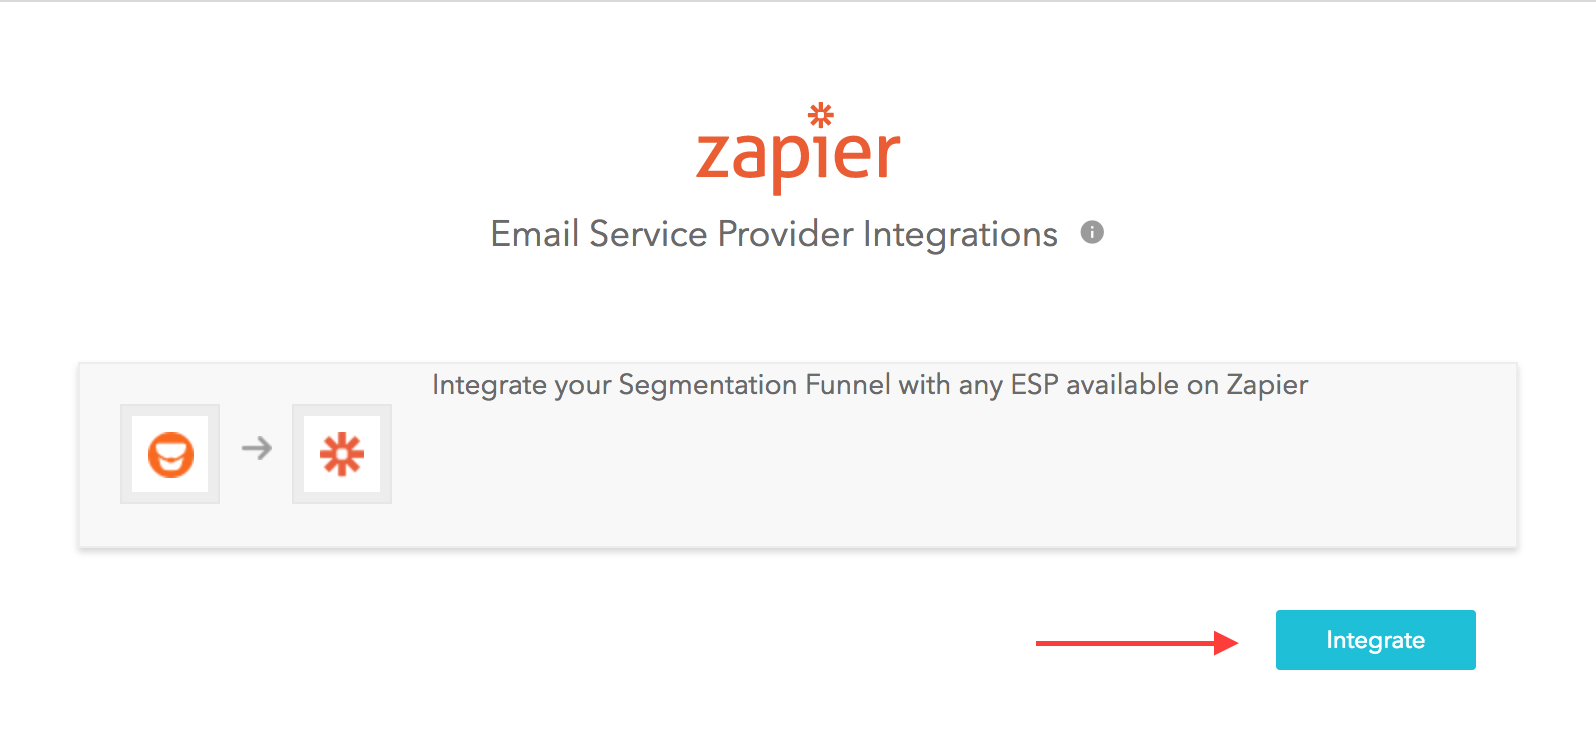
Navigate to the Configure page, and click on Integration.
On the ensuing page, click the Integrate button.
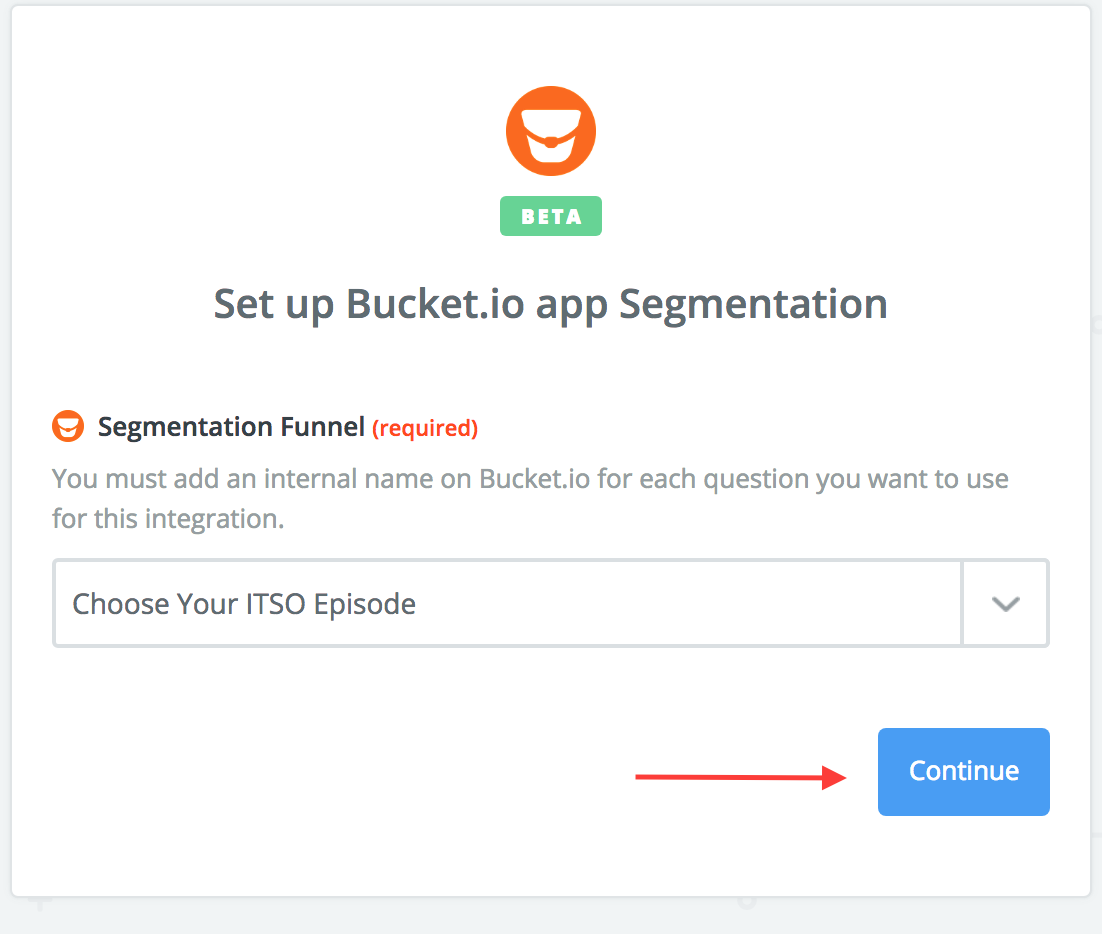
Choose the appropriate trigger.account, and relevant funnel.

Connect a new account or select an existing account.

Choose your funnel.

Click the Continue button.
Test the trigger by clicking on the button labeled Fetch and Continue.

Once the test is complete, click Continue.
Step 2: Connect Active Campaign with Zapier
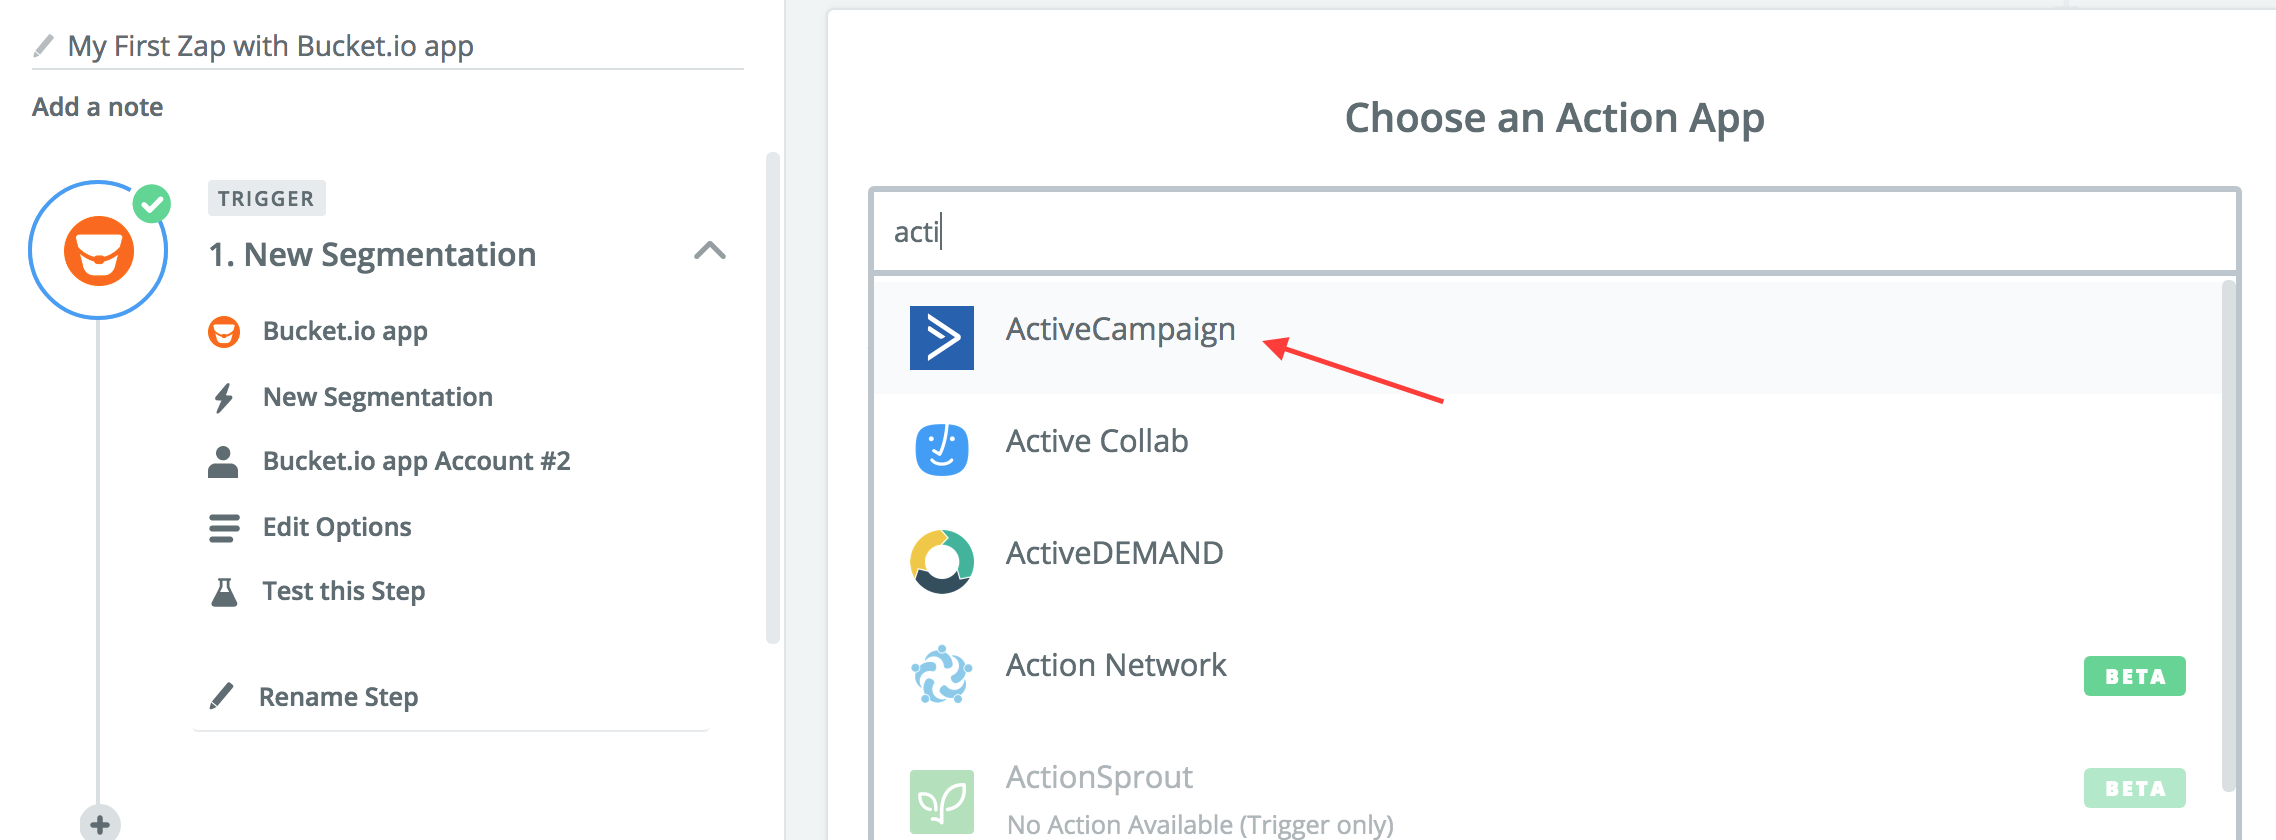
Now it’s time to add an action step, which in this case will be setting up Active Campaign to work in tandem with Zapier.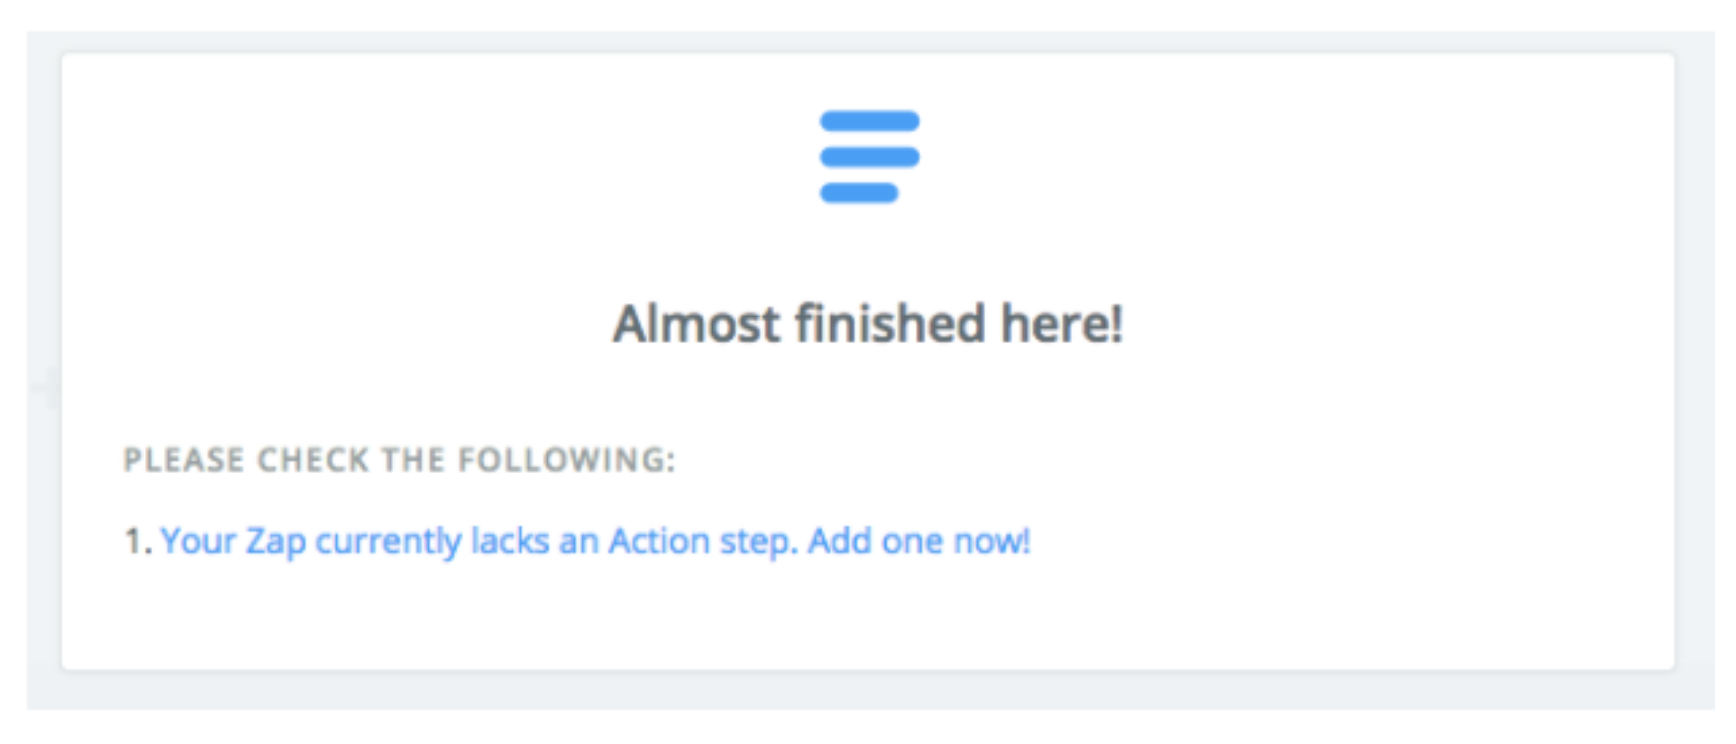
Search for and click on Active Campaign.
Select the Active Campaign Create/Update Contact option.
 Click on the Save and Continue button.
Connect Your Active Campaign account.

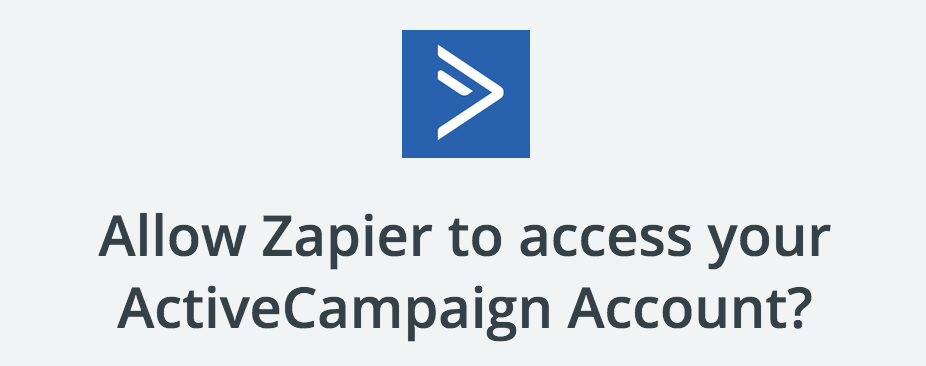
If you’re setting this up for the first time, you will need to allow Zapier to access your ActiveCampaign account by inputting the API URL and API Key.
*Note: a pop-up window will appear with the following title. If it doesn’t show for you, please ensure any pop-up blockers are not enabled.
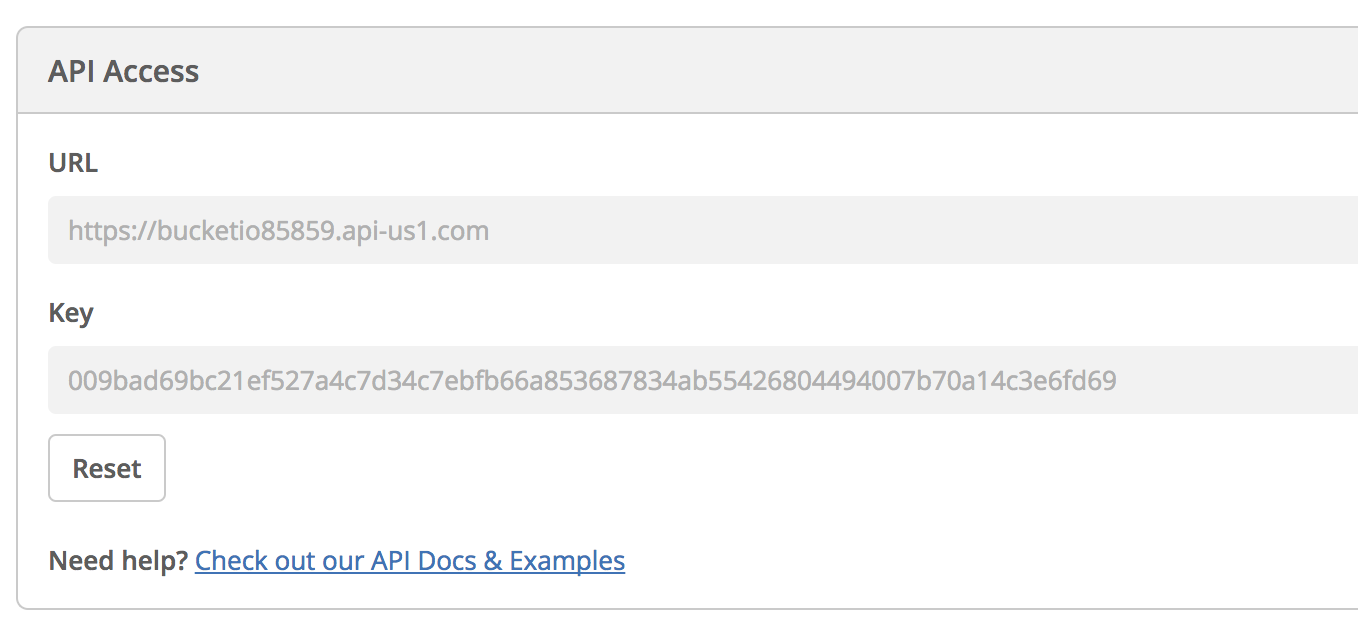
To retrieve your API URL and Key: Login to ActiveCampaign and navigate to the top right drop-down menu and select My Settings.

On the left-hand side of the screen, select Developer.
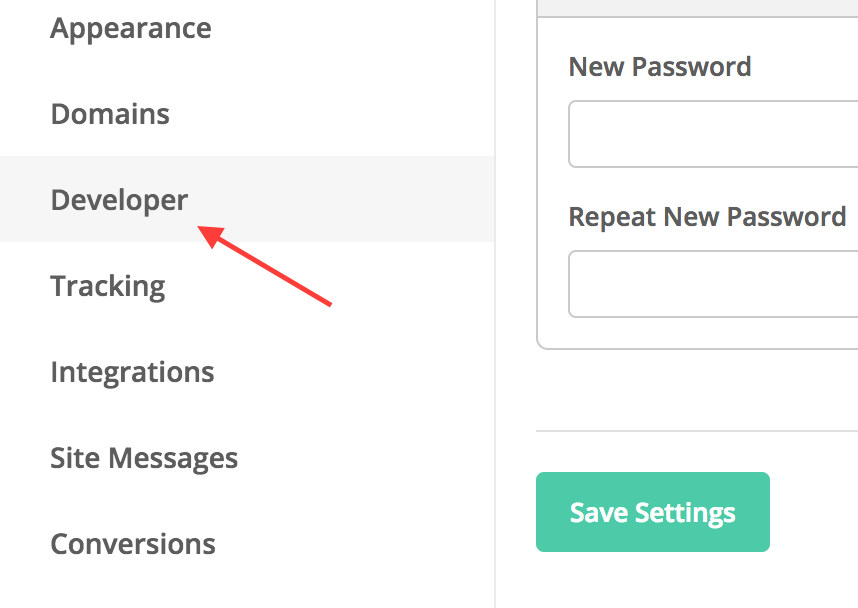
On the Developer page, you will be able to copy and paste the URL and Key.
Input the API information in the pop-up window, like so:

Go back to the Zapier integration page, and test your ActiveCampaign integration. Once successful, click Continue.
Step 3: Configure the ActiveCampaign Contact Page
Now you should be on the ActiveCampaign contact setup page, where you can input information in the required and optional fields.
Test ActiveCampaign.

Once you get a Test Successful result, click Finish.

Finally, turn on your Zap.

Related Articles
Integrate an Email Service Provider using Zapier
Integrating with Zapier is a powerful way to have the data acquired from your surveys passed over to your email service provider. Step 1: Add Zapier Tags A Zapier tag tells Zapier what someone filled in on your Segmentation Funnel or Discovery ...Connect a MailChimp Account using Zapier
Before you begin: Add Zapier Tags to Questions After you open up the relevant funnel, navigate to your questions and add Zapier tags as needed. Double-check your lead capture page to ensure all pertinent lead information is requested. Step 1: Setup ...Connect an Infusionsoft Account using Zapier
Before you begin: Add Zapier Tags to Questions After you open up the relevant funnel, navigate to your questions and add Zapier tags as needed. Double-check your lead capture page to ensure all pertinent lead information is requested. Step 1: ...Integrating Kajabi and bucket.io using Zapier
Before you begin: In bucket.io add Zapier Tags to Questions, this will allow Zapier to pull info from bucket.io In Kajabi create one form and a number of automations equal to the number of buckets. The purpose of these automations are to add a ...How To Connect Infusionsoft To Your Account
This video will show you how to connect Infusionsoft to your bucket.io account.